
Appearance
Understanding Map Markers and Icons
Quick Answer
Location markers (pins) on the map are color-coded by site type and status. Existing sites use one color scheme, proposed sites use another. Numbered circles are clusters grouping multiple nearby locations.
Where You See Markers
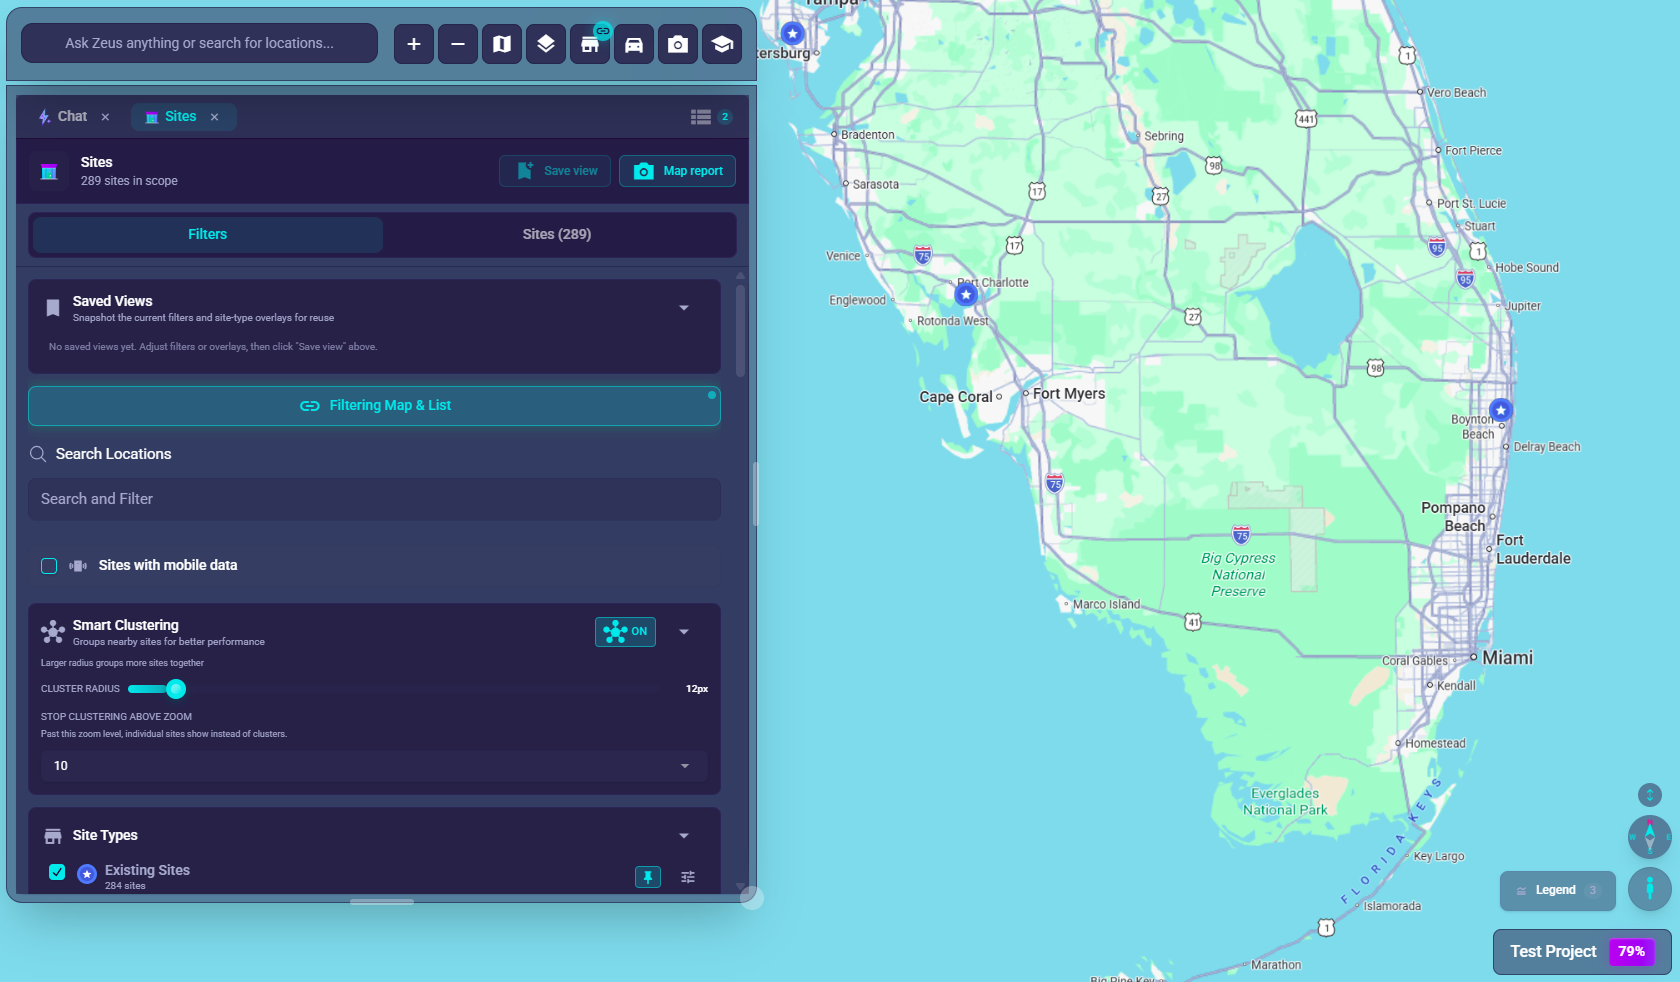
Markers appear directly on the map in the center of your screen:
┌─────────────────────────────────────────────┐
│                                             │
│      ●  ●●        ◉ = Selected marker       │
│           ●                                 │
│       15 ⊛        ⊛ = Cluster (15 sites)   │
│              ●                              │
│                  ●●                         │
│                                             │
└─────────────────────────────────────────────┘
Marker Colors by Site Type
Existing Sites (Operating Locations)
| Status | Color | Description |
|---|---|---|
| Mature | Blue | Established, fully operational locations |
| New | Purple | Recently opened locations |
| Non-Traditional | Cyan | Non-standard format locations |
| Closed Permanently | Gray-Blue | Locations that have permanently closed |
| Closed Temporarily | Gray-Blue | Locations temporarily not operating |
Proposed Sites (Planned Locations)
| Status | Color | Description |
|---|---|---|
| Consideration | Green | Under initial evaluation |
| Approved | Blue | Approved for development |
| Letter of Intent (LOI) | Orange | LOI signed, pending finalization |
| In Development | Pink | Currently being built/prepared |
| Dead Deal | Gray | No longer being pursued |
| Rejected | Gray | Formally rejected |
| Non-Traditional Consideration | Teal | Non-standard format under evaluation |
| Trade Area Seed | Lime Green | Used for trade area analysis |
Other Marker Types
| Type | Color | Description |
|---|---|---|
| Search Pin | Pink/Red | Marker placed by search results or a manual pin drop; not saved as a project location, but persists through page refresh |
| Layer Location | Various | Competitors or external data (color varies by source) |
| Selected | Electric Blue Glow | Currently selected location (any type) |
You can drop a search pin on any land inside your project's country, including land that has no street address (such as undeveloped parcels or rural sites). The pin is placed at the coordinates you click even when no mailing address resolves there.
Pins that resolve to a different country than the project's are rejected with a message telling you which country the point falls in — US projects cover the 50 states and DC, so US territories such as Puerto Rico and Guam are treated as a different country.
Cluster Markers (Numbered Circles)
When multiple locations are close together, they combine into clusters:
- Circle with number: Shows count of locations in that area
- Example: "15" means 15 sites grouped there
- Zoom in: To see individual markers
     ⊛ 15    ← Cluster: 15 locations grouped here
      │
      ▼
   Zoom in to see:
      ●  ●
     ● ● ●
      ●  ●
Cluster Appearance
| Feature | Meaning |
|---|---|
| Size | Larger = more locations |
| Number | Exact count (or "50+" for large clusters) |
| Color | May reflect dominant site type |
Marker States
Normal State
- Solid color based on site type/status
- Standard size
- Click to select
Hover State
- Slightly enlarged
- Tooltip appears with location name/address
- Preview card may show
Selected State
- Electric blue glow around marker
- May pulse or animate
- Location Analytics opens for the selected site
- Map may center on location
Pinned State
- White border/halo around marker for high visibility
- Enlarged size (same as hover state)
- Brightened colors for emphasis
- Marker remains highlighted even when hovering elsewhere
- Pinned markers persist during map pan/zoom
- Use pinned markers to keep locations visible while exploring the map
Filtered Out State
- Marker is hidden from map
- Re-appears when filters clear
- Use Sites tab to see all locations regardless of filter
What a Marker's Popup Shows
Clicking or hovering a marker can surface a popup with the site's attributes. A few conventions make these popups easier to read and compare:
- Attributes are listed alphabetically by label. The order is the same for every marker, so when you open popups on two sites side by side, the same fields line up in the same place.
- Coded fields show their labels, not their raw codes. A search or dropped pin displays the readable value for lookup fields — for example, "Franchise" rather than the underlying code.
- Layer / Sites-of-Interest markers show only their real attributes. These external markers no longer display fabricated default values, so their Attributes section may be empty when the source data has none. Search pins still show template/default attributes as a preview.
Understanding Clusters
What Clusters Mean
Clusters appear when you're zoomed out and multiple locations are close together. The number shows how many sites are in that cluster.
Interacting with Clusters
- Hover over a cluster to see the count
- Click a cluster to zoom in to those locations
- Zoom in manually to break clusters apart
- As you zoom, clusters split into individual markers
Cluster Colors
Cluster colors may indicate:
- Dominant site type in the cluster (e.g., mostly existing = blue tint)
- Mix of types (neutral color)
- Custom project settings
Selecting a Location
How to Select
- Find a marker on the map
- Click it once
- Marker highlights with electric blue glow
- Location Analytics opens for that site
What Happens When Selected
- Marker shows selection indicator (glow)
- Map may center on the location
- Analytics tab shows details
- You can ask AI questions about it
Selecting from Clusters
- Click the cluster to zoom in
- Or use the Sites tab to find and select by name
- Once zoomed, click individual markers
Moving a Site (Relocate)
You can reposition an existing or proposed site by dragging its marker to a new spot on the map.
How to Move a Site
- Right-click the site's marker to open its menu.
- Click Move site (the top item, with a move arrows icon).
- The marker turns into a movable pin. Drag it to the new location and drop it.
- A confirmation dialog appears — for example: "Main St will be moved to 123 Elm Ave. Its trade area, demographics, and forecasts will be recalculated for the new location."
- Click to confirm the move, or cancel to leave the site where it was. The dropped pin stays in place while the dialog is open so you can see where it will land.
After you confirm, the site's coordinates are saved and its analytics (trade area, demographics, and forecasts) recompute for the new position.
Who Can Move a Site
- Proposed sites require permission to edit proposed sites.
- Existing sites require permission to edit existing locations.
- Search pins and layer locations cannot be moved. The Move site option only appears for existing and proposed sites you have permission to edit.
Mobile Data After a Move
If the site already had Mobile Data at its old coordinates and your plan includes the Mobile Data bundle, Zeus.ai automatically re-pulls mobile data for the new location in the background after the move. This can spend a Mobile Data license. If the site had no mobile data before, nothing is re-pulled.
Controlling Marker Visibility
Site Layer Filters
Control which markers appear via the Sites tab (store icon in the chat bar):
| Filter | What It Controls |
|---|---|
| Existing Sites | Show/hide operating locations |
| Proposed Sites | Show/hide planned locations |
| Sites of Interest | Show/hide layer/competitor locations |
| Search Sites | Show/hide search result pins |
Subcategory Filters
Expand each category to filter by specific status:
- Under "Existing Sites": Mature, New, Non-Traditional, Closed
- Under "Proposed Sites": Consideration, Approved, LOI, In Development, etc.
Tips for Working with Markers
Finding Specific Markers
- Zoom out to see the big picture
- Look for clusters in target areas
- Zoom in to find individual sites
- Use search for specific locations
- Use Sites tab to browse and filter
When Markers Overlap
- Zoom in to separate them
- Click carefully on the target marker
- Use the Sites tab to select instead
- Enable clustering to reduce overlap
Understanding Density
- Many clusters = high density of locations
- Spread out markers = sparse coverage
- Large cluster numbers = lots of sites in that area
Marker Stability
The map uses intelligent rendering to keep markers visible and prevent flickering:
During Page Transitions:
- When you navigate between pages, markers remain visible until new data loads
- The system waits for complete data before updating the display
- You won't see markers briefly disappear and reappear (no "flicker")
After a Browser Page Refresh:
- Existing and proposed site markers reload automatically with your project data
- Search pins are also restored automatically after a page refresh — you do not need to redo your search
During Zoom and Pan:
- Markers stay visible even when zooming to levels where they're technically outside the viewport
- The system preserves the current view until markers become visible again
- This prevents jarring visual changes when quickly zooming in/out
Pinned Markers:
- Pinned markers maintain their highlighted state (white border, halo) through all map movements
- Pin state persists during pan, zoom, and page transitions
- Pinned markers are always rendered with visual priority
When Markers Update:
- New markers appear when data successfully loads
- Existing markers are replaced only when new valid data is ready
- The transition is smooth with no intermediate blank states
Mobile Markers
On phones and tablets:
- Markers are slightly larger for easier tapping
- Tap to select (instead of click)
- Pinch to zoom to see clusters break apart
- Hover previews not available (tap instead)
Legend / Key
If available, look for a map legend:
- Usually in a corner of the map
- Shows color meanings
- May be toggleable in settings
Troubleshooting
Can't See Any Markers
- Check if filters are hiding all locations (Sites tab)
- Zoom out to see if markers are elsewhere
- Verify you're in the right project
- Check Site Layer filters in the Sites tab
Markers Not Responding to Clicks
- Try clicking more precisely in the center
- Zoom in if markers are overlapping
- Check if a panel is blocking the map
- Try selecting from the Sites list instead
Cluster Won't Break Apart
- Zoom in more - some areas have very dense locations
- Try clicking the cluster to zoom in automatically
- Use filters to reduce the number of visible sites
Wrong Colors Showing
- Colors are based on status, not revenue
- Check the location's status in Analytics tab
- Some layer locations may have custom colors